


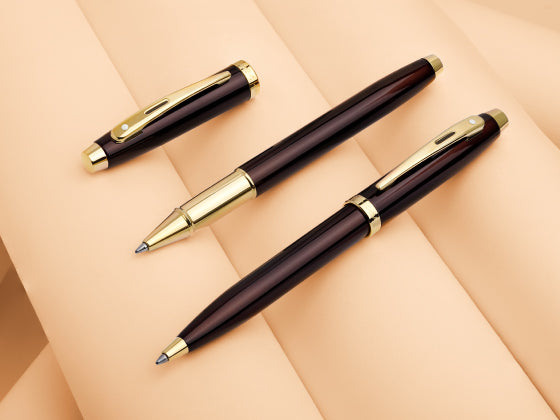
Fountain pens are cherished for their smooth writing experience, timeless appeal, and unique personal touch. However, to ensure your fountain pen continues to perform at its best, regular maintenance is essential. Cleaning your fountain pen properly not only extends its lifespan but also ensures you enjoy a flawless writing experience every time.
In this blog, we’ll walk you through the simple steps of cleaning and refilling your fountain pen, so it's always ready to write.

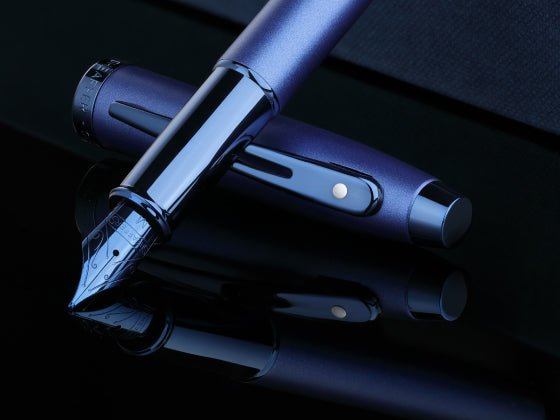
Step 1: Remove the Cap and Inspect the Pen
The first step in the cleaning process is to remove the cap of your fountain pen. This allows you to check the nib and the ink reservoir for any dried ink or debris. When you remove the cap, you should also assess whether the pen feels comfortable in your hand, as regular cleaning prevents buildup that could affect its performance.

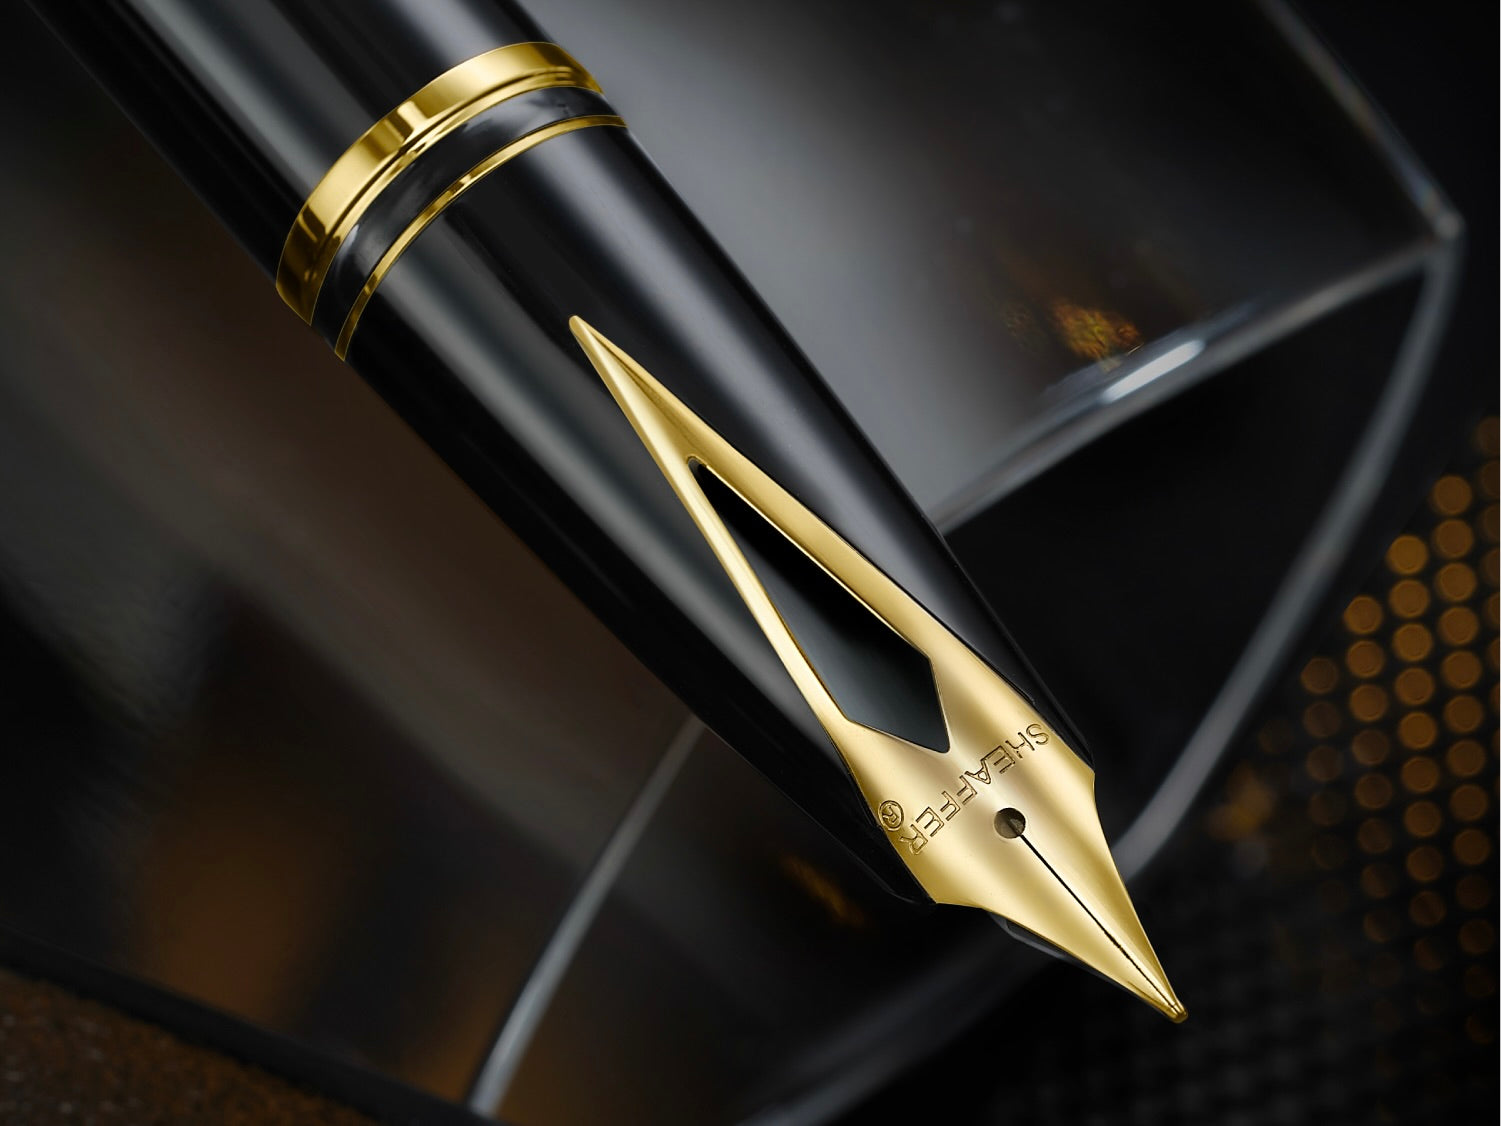
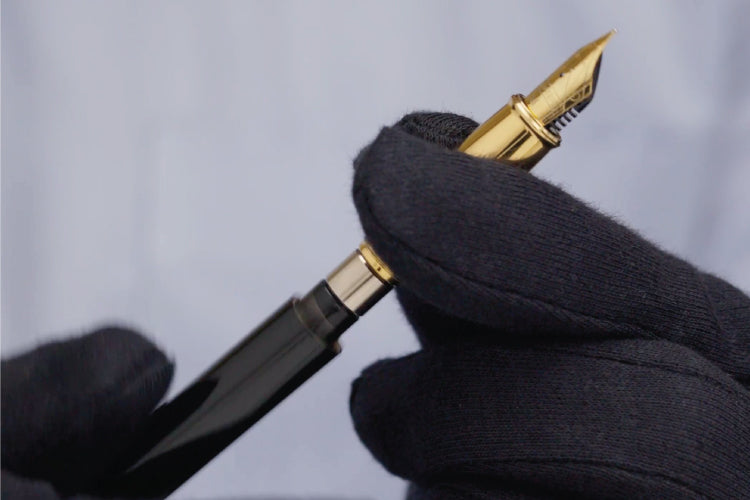
Step 2: Flush the Nib with Lukewarm Water
Once your fountain pen cap is off, the next step is to clean the nib and feed thoroughly. The most effective way to do this is by flushing the nib with lukewarm water. Hold the nib under the running water or submerge it in a small container of water. Gently flush the nib and feed with the water until it runs clear. This process helps remove any old ink, dust, or debris that could clog the nib, ensuring smooth and uninterrupted ink flow during your next writing session.
Pro Tip: Avoid using hot water as it may damage the delicate components of your fountain pen. Lukewarm water is ideal for this task.
Step 3: Dry the Nib and Feed
After you’ve flushed the nib with water, it’s important to remove any excess moisture. Use a piece of tissue paper or a soft cloth to gently dab the nib and feed dry. Be careful not to apply too much pressure, as the nib is delicate. Allow the fountain pen to air dry completely for the best results. Proper drying ensures that the new ink will flow smoothly and prevents any leftover water from diluting the ink.
Step 4: Refill the Pen with Ink
Once your fountain pen is completely dry, it’s time to refill it with ink. Depending on your pen's design, you can either use ink cartridges or a converter to refill it with bottled ink. If you’re using a converter, simply dip the nib into the ink bottle and twist the converter until it’s filled with ink. If you’re using a cartridge, simply insert the new cartridge into the pen’s barrel until it clicks into place.
Make sure you choose high-quality ink that suits your writing style. Many fountain pen enthusiasts prefer bottled inks for their rich colors and smooth flow, but cartridges are more convenient for those on the go.

Step 5: Ready to Write
Once your fountain pen is refilled and all parts are properly assembled, it’s time to test it out. Write a few lines to ensure the ink is flowing smoothly. If the ink doesn’t flow immediately, try gently tapping the nib or giving it a slight shake to encourage the ink to flow to the nib.
 Proper care and maintenance are crucial to getting the most out of your fountain pen. Regular cleaning ensures that the nib stays in top condition and prevents ink buildup, which can affect your writing experience. By following these simple steps—removing the cap, flushing with water, drying, refilling with ink, and testing—it’s easy to keep your fountain pen clean and ready for your next writing project.
With this routine, you can continue to enjoy the luxurious feel of writing with a fountain pen, whether you’re journaling, drafting a letter, or signing an important document. Whether you're a fountain pen enthusiast or a beginner, taking the time to clean your writing instruments will keep them performing beautifully for years to come.